Prototyping Install Prototype Kit on PC
Overview
Getting set up
Before you start, you will need to download and install the following:
1. Install Git
Git is an open-source tool that helps track changes in code and makes it easy for multiple people to work on the same project.
Download Git (opens in a new tab) (opens in a new tab)
Select your operating system and follow the prompts for installation. Accept all default prompts from the respective installer for your operating system.
2. Install Node.js
Node.js is an open-source tool that runs JavaScript outside the browser. It’s designed to build fast and scalable applications.
Download Node.js (opens in a new tab) (opens in a new tab)
Select your operating system and follow the prompts for installation. Accept all default prompts from the respective installer for your operating system.
3. Install Yarn via npm
Yarn is a popular open-source package manager for JavaScript projects. It helps install, update, and manage dependencies efficiently, making development faster and more reliable.
The recommended way to install Yarn is through npm package manager (npm) (opens in a new tab) , which is included with Node.js (opens in a new tab) .
To install or upgrade Yarn, open a terminal on your PC and run the following command:
npm install --global yarn
Check that Yarn is installed by running:
yarn --versionInstalling the prototype Kit
You will need Git, Node.js, and Yarn to run this project locally. Please ensure you have implemented the steps mentioned in the previous section.
Local git configuration
Make sure your local git configuration is set up to use main as the default branch when initialising a new repository. Launch a command terminal on your PC, and run the command below.
git config --global init.defaultBranch main
If it returns back to the command line without any error or messages as shown above, the setting have been successfully applied.
Create a prototype kit project
You will need access to GitHub to create a project for your prototype kit. If you do not have a GitHub account, create one first, or ensure you are signed in before proceeding.
Clone the ONS prototype kit in to your new project by using:
Follow the steps below, on the GitHub page:
- Do not tick the Checkbox labeled: "Include all branches"
- Choose an owner: Select your account from the dropdown filter.
- Repository name: Enter a clear, convenient name for your repository, such as my-ons-prototype-kit. This will also be the name of the local folder on you PC for this project.
- Optional description: You may include an description for your repository.
- Set repository visibility: Select Private if you would like to have control over who can view and contribute to your project.
- Create your repository: Click Create repository.
- GitHub will redirect you to your prototype kit project. Keep this browser window open to complete the next step.
Clone your prototype kit project to your PC
When you create a repository on GitHub, it exists remotely. Cloning it creates a local copy on your computer, allowing you to sync changes between both locations.
1. Open the command terminal on a PC and issue the commands below.
mkdir my-prototypes cd my-prototypes2. Create a directory to hold your local project.
For example, "my-prototypes", on a windows PC.
Optionally, you can follow this process on a PC to clone your new repository's code (opens in a new tab) into a new folder on your device, allowing you to start building your prototypes.
3. Clone your prototype kit repository locally
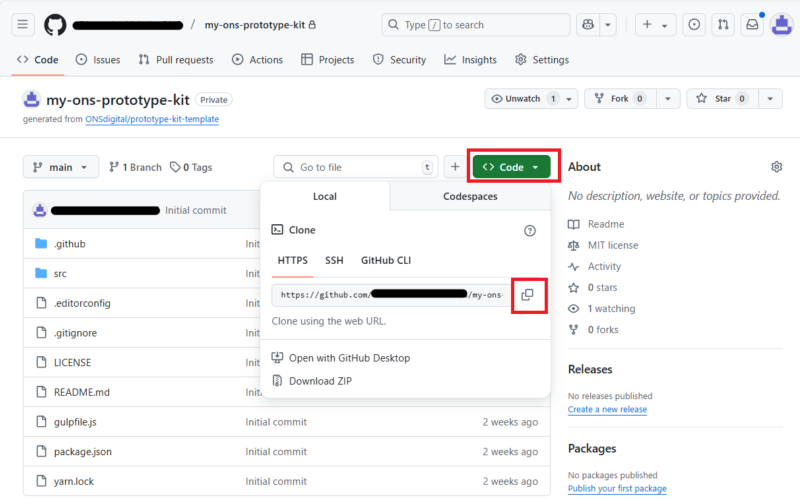
On GitHub, navigate to the main page of your repository.
Click the 'Code' button and choose HTTPS in the pop up. From here you can copy the URL displayed in the input.
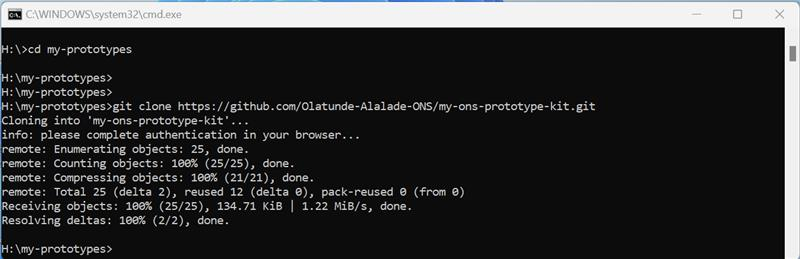
Go back to your command terminal and type the following command: git clone. Then paste the URL that you copied from GitHub. Ensure your are still in the directory C:\my-prototypes.
git clone https://github.com/my-Github-Username/my-ons-prototype-kit
Next you will need to authenticate with your GitHub account. Please ensure you have 2-factor authentication enabled in your GitHub account.
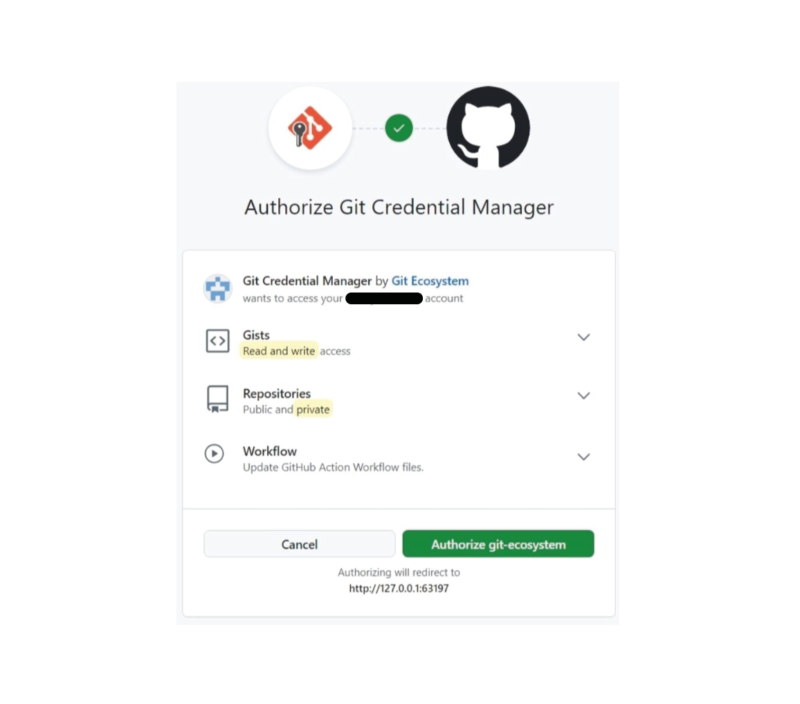
Select a preferred option. The browser option may work automatically since you have recently authenticated to create your repository in the previous step. You can then authorize the authentication.
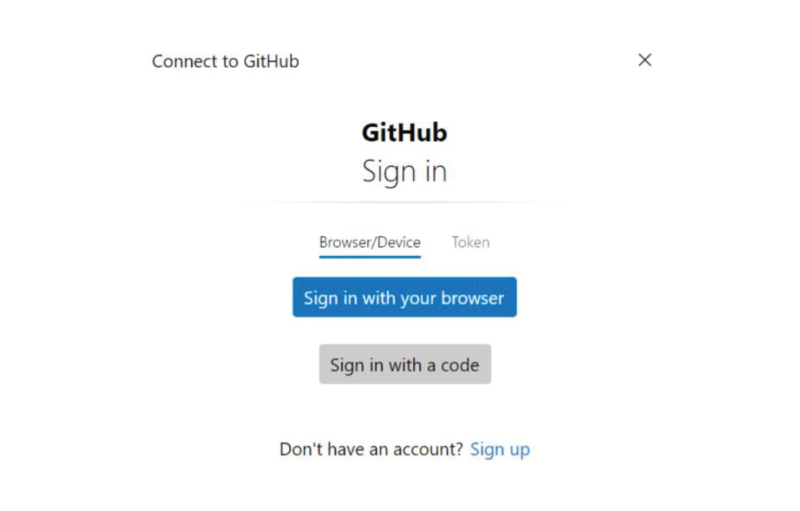
You can then authorize the authentication.
Once authenticated, your locally repository will be created in the directory below.
Use the code block below to launch your prototype.
yarn start
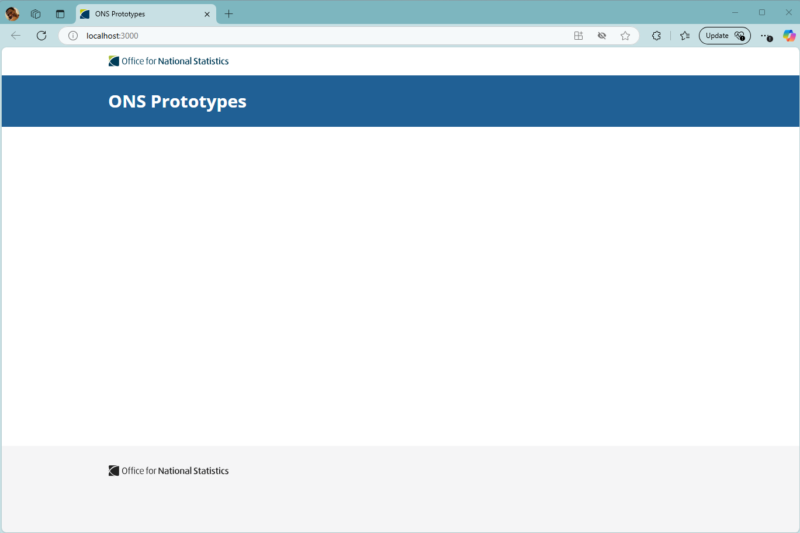
If you have followed all of the steps successfully your prototype will launch in a browser window as shown below. Related documentation can be found below for more information on how to update your prototype.
Related documentation
Further help
If you need any help installing the prototype kit, or creating or publishing your prototype, email the design system team at ons.design.system@ons.gov.uk (opens in a new tab)